- HOME
- Building a business
- Setting up a home studio for recording online courses
Setting up a home studio for recording online courses
- Last Updated : November 3, 2026
- 19 Views
- 8 Min Read

Being a content creator requires in-depth knowledge across several creative fields. Whether you’re an influencer looking to package and sell your skillset or an educator digitizing your courses for an online audience, you need to know what needs to prepared accordingly. One of the most important things to consider initially is the home studio.
A home studio for online training doesn’t need to look like a professional film set. It needs to help you teach clearly, record consistently, and get from an idea to a finished lesson without rebuilding your setup every time you sit down to create.
If you’re a trainer, your studio isn’t simply where you make videos. It’s also the workhorse where you demonstrate software, present slides, host a live workshop, answer learner questions, record a replacement lesson, and build the next module of your course.
So, how do you set up a home studio for recording online courses?
To encapsulate the process: Start with a quiet, reusable space, prioritize clear audio, create the necessary lighting conditions you can reproduce, keep your camera setup simple, arrange an ergonomic workstation, prepare for screen recording, save your settings, and test the finished lesson from a learner’s perspective before publishing it. The aim isn’t cinematic production. It’s a creating a repeatable training workflow for your upcoming content.
Start with the way you plan to teach
Before buying a microphone, camera, or backdrops, decide what you’ll actually be doing in the studio.
A trainer creating mostly self-paced courses has different requirements from someone running several live workshops each week. And if you plan to combine the two, your setup should ideally accommodate both without forcing you to rearrange the room whenever your delivery format changes.
For self-paced training: Prioritize a recording space where your camera position, microphone, lighting, and background can remain reasonably consistent. If your courses involve demonstrations, make sure the setup also makes it easy to record your screen, slides, documents, or software.
For live online training: Add reliable internet connectivity and easy access to your keyboard, presentation controls, teaching notes, and screen-sharing setup. TrainerCentral, for example, supports live lessons in which trainers can broadcast audio and video, present slides, share their screens, showcase videos, and add materials, polls, and tests to the session.
If you do both, avoid building separate setups for recording and teaching setups unless you genuinely need them and have the bandwidth for it. A studio that can move from a recorded lesson to a live class with minimal adjustment is usually more useful to an online trainer.
Choose a space that makes good recording easier
The best room in your home isn’t necessarily the biggest or the most visually impressive. It’s the one you can control the best for your content needs.
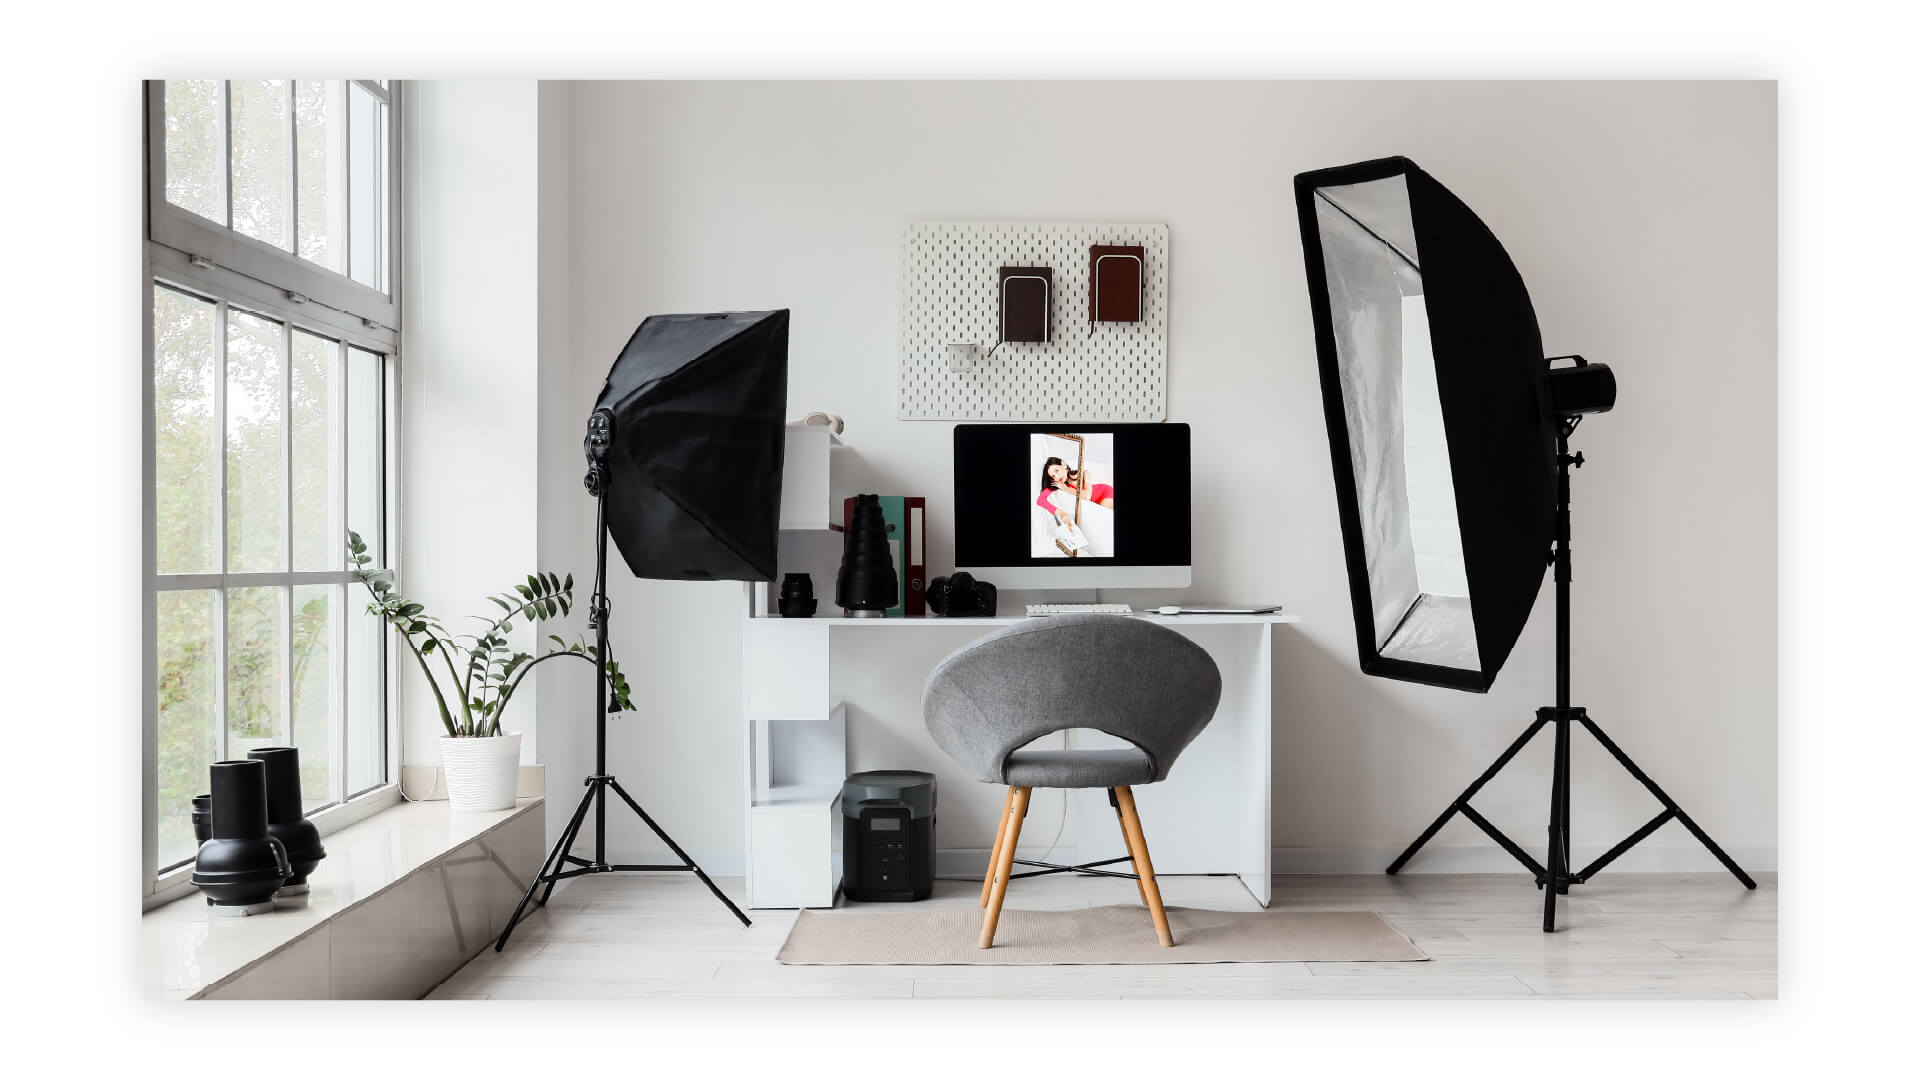
Listen before you look. Can you hear traffic with the windows closed? Does the air conditioner create a constant hum? Will other people regularly need to walk through it? Can you leave your equipment in approximately the same position between sessions?
Rooms with hard, reflective surfaces can create noticeable echo, while rugs, curtains, bookshelves, upholstered furniture, and other softer surfaces can help absorb reflections. Using soft materials to reduce echo and selecting a quiet environment before recording helps fix this issue.
This doesn’t mean you need to cover your room with acoustic foam. Start with what’s already available. A rug, curtains, a sofa, or a filled bookshelf can make a surprisingly practical difference to a room dominated by bare walls and hard flooring when it comes to room acoustics.
Think about light simultaneously. A large window can be useful, but daylight changes with the weather and time of day. If you expect to record lessons across several days—or return months later to update a course—then relying entirely on natural light can make consistency harder.
Finally, consider whether the room can stay ready to use. A space that takes 30 minutes to rearrange before every recording can create more friction than a smaller corner that is always ready before you press record.
Prioritize audio before upgrading your camera
Learners need to understand you easily. That makes audio one of the first things to get right.
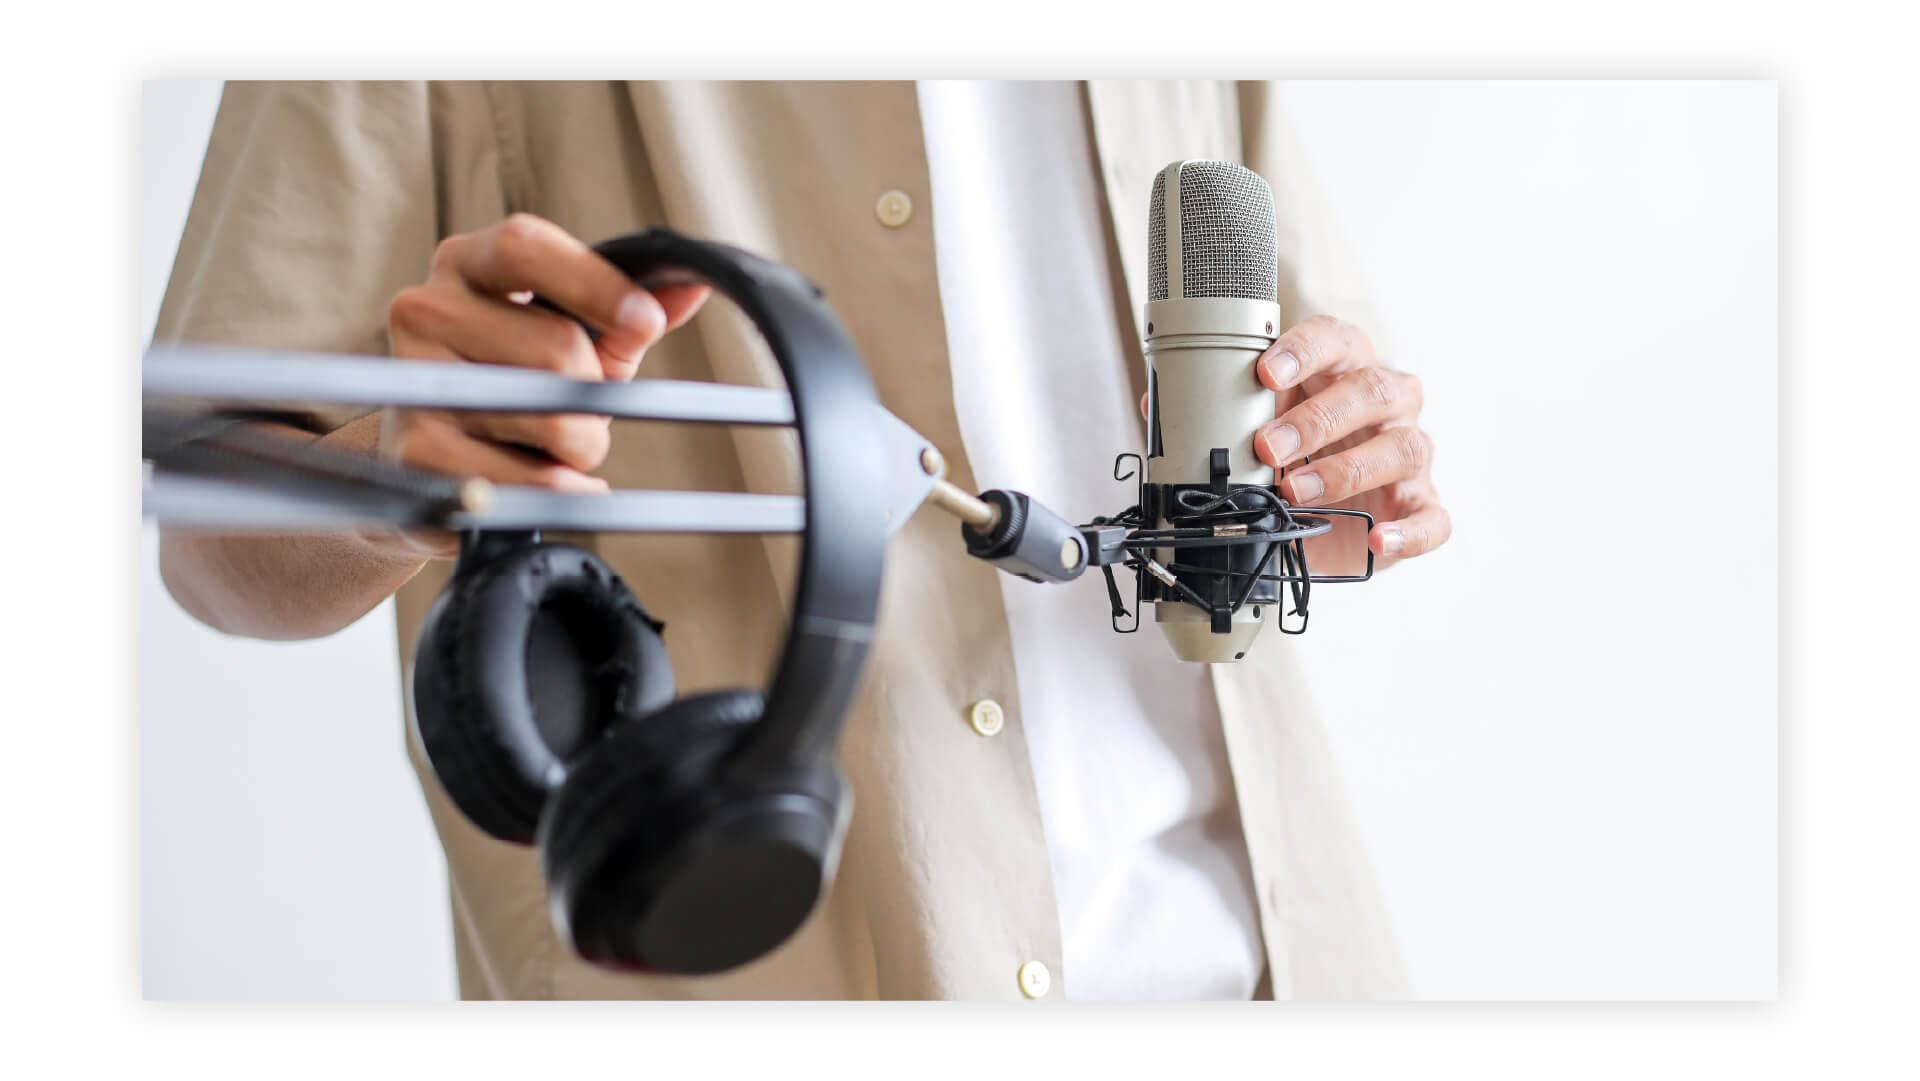
Before recording a full lesson, make a short test and listen to it through headphones. As mentioned before, see how your space’s acoustic feedback reacts to your voice. A test recording before starting and using an external USB or lapel microphone rather than relying solely on a laptop microphone wherever possible can also be a game-changer.
Microphone placement matters a lot. Moving a reasonable microphone closer to the speaker can often be more useful than buying increasingly expensive equipment while leaving it in an acoustically poor position. Emphasize on microphone and camera placement, lighting, and setup tests rather than assuming expensive equipment automatically produces better instructional video.
The same applies to your camera. A webcam, smartphone, or dedicated camera can all serve an online trainer depending on the course and production requirements. Position the camera at or around eye level, stabilize it, and choose framing you can reproduce from one lesson to the next. Keeping the camera around eye level and maintaining a straightforward head-and-shoulders frame for online instruction is good practice for consistency between shoots or streams.
We at TrainerCentral previously made a more detailed guide covering camera selection, tripods, composition, backgrounds, lighting, and audio which you can check here!
Make your lighting repeatable, not complicated
You don’t need to recreate a film-production lighting rig. You need to be able to sit down regularly in the same space and get roughly the same result you achieved before.
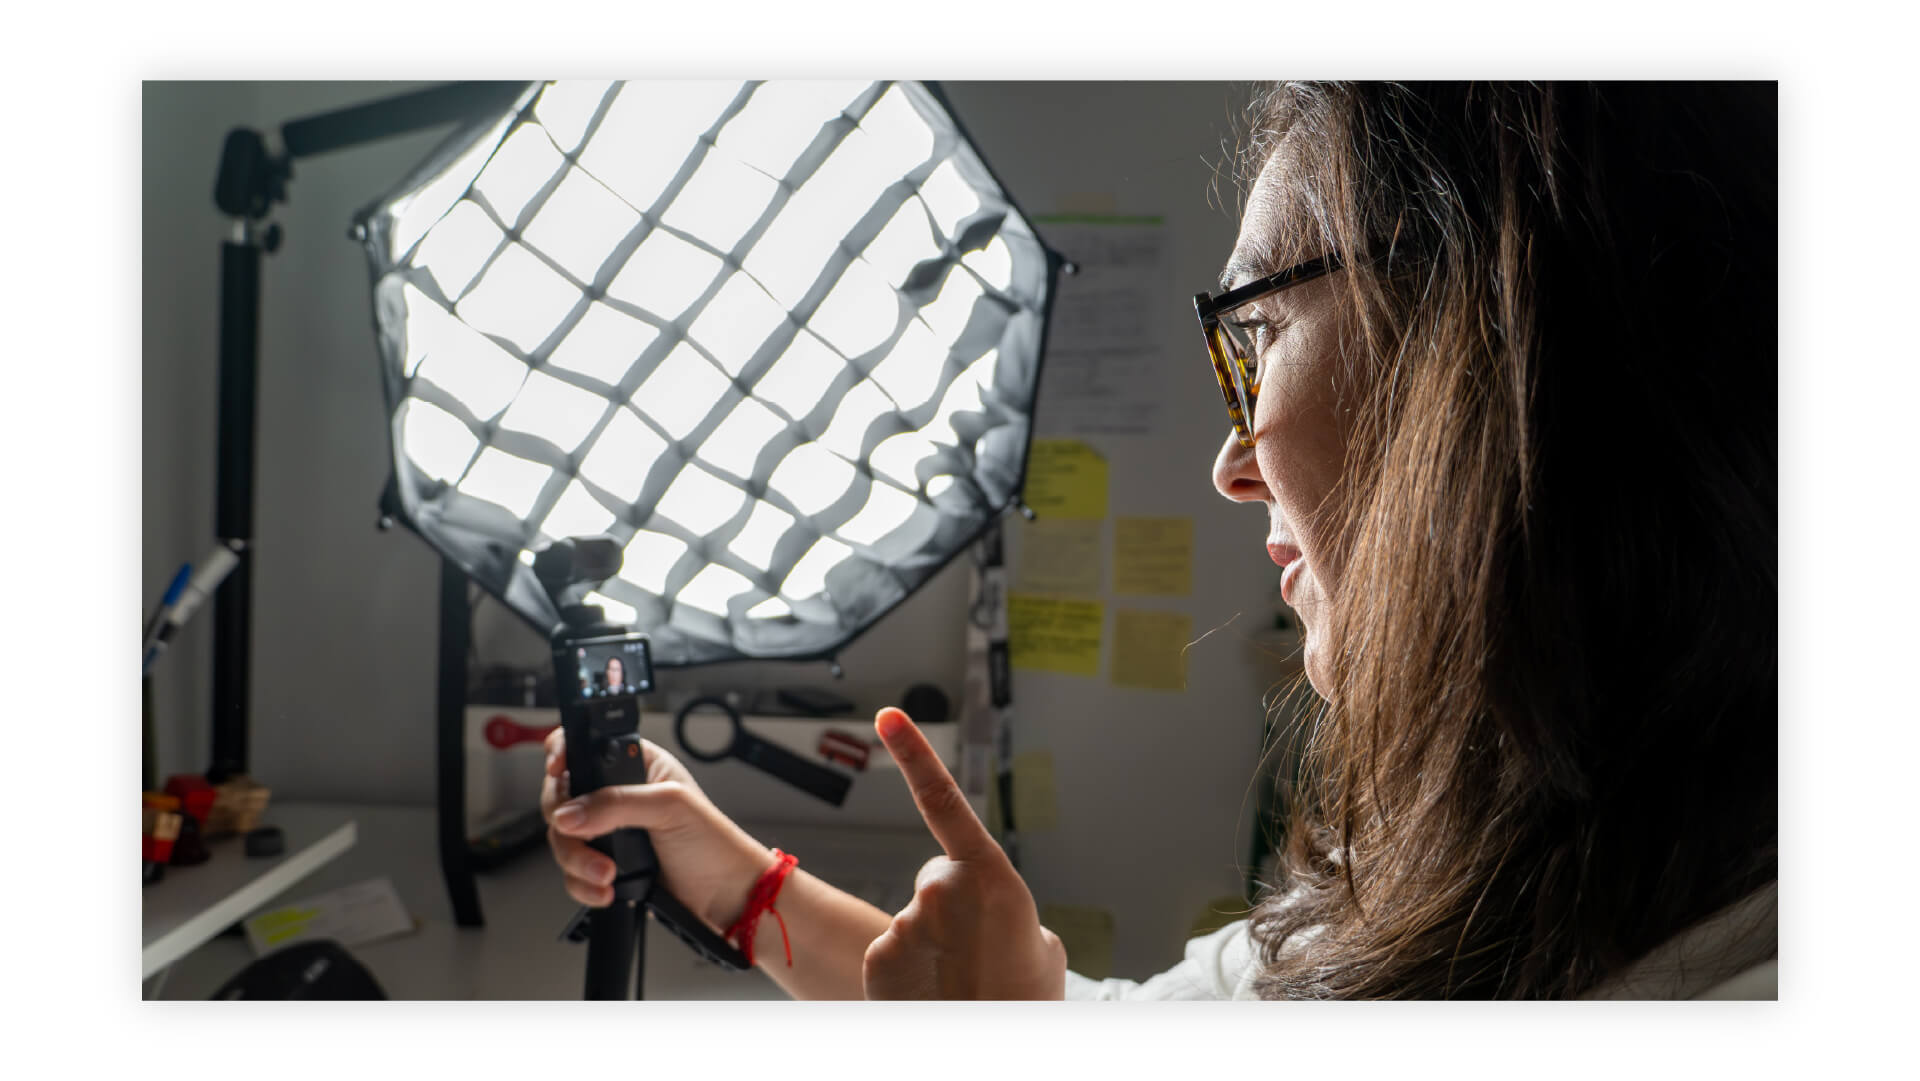
Start by positioning your desk and camera. Then work out where your main light needs to be. Avoid placing a bright window directly behind you, which can leave your face underexposed relative to the background. Keeping the instructor well lit and avoiding strong backlighting is always recommended.
Once you find a setup that works, stop treating it as something to reinvent every time. Save the brightness and color-temperature settings on your lights if your equipment allows it. Keep the lamp or light stand in the same position. If equipment has to be moved, a small floor marker can help you return it to the original spot.
Take a reference photo of the complete room from behind the camera. If you later record an updated lesson, that single photo can show you where the chair, camera, microphone, lights, and background originally sat.
That may sound trivial when you’re making your first video. It becomes much more valuable when lesson 12 needs replacing six months after the rest of the course was recorded.
Build your workstation for teaching, not just filming
A course creator’s studio is also a workstation. If you spend an hour recording or delivering a live session, you shouldn’t have to hunch over a laptop because raising it to camera height made the keyboard uncomfortable.
Arrange the desk so your screen, camera, keyboard, mouse, microphone, notes, and presentation controls can all be used comfortably. A neutral working posture, relaxed shoulders, elbows around keyboard height, and a monitor roughly an arm’s length away with eye level around the upper part of the screen.
If you raise a laptop to improve camera placement, consider using an external keyboard and mouse rather than sacrificing your posture.
A second or even a third display can also be useful for some training workflows. During a live class, for example, one display might contain the presentation or demonstration while another holds notes or teaching controls. It’s not essential, but it can reduce constant window switching while maintaining continuity.
More importantly, keep the objects you regularly use during instruction within easy reach. You should be able to move between explaining a concept, advancing a slide, sharing your screen, checking a note, or answering a learner without visibly fighting your setup.
Prepare the digital side of the studio
For many online courses, screen recording is more important than your talking-head shots. You may need to show software, walk through a spreadsheet, annotate a document, present slides, or demonstrate a process while your webcam appears alongside the screen.
Before recording, close anything you don’t need, silence notifications, remove personal or confidential information, and check which browser tabs and applications are visible. Always make a habit of closing email and notification-generating tools and testing screen-sharing and recording settings before beginning.
Design your slides and demonstrations for the learner’s screen, not your own monitor. Text that appears comfortable on a large desktop display can become difficult to read on a smaller screen. Also decide which materials belong inside the video and which are better supplied separately. A detailed reference document may be more useful as a downloadable resource than as a slide learners must pause to read.
Test, test, and test again
Once your studio looks and sounds right, turn the setup into a preset. Save your camera and recording settings. Keep a note of your microphone levels. Record your lighting settings. Mark equipment positions if necessary. Save your screen-recording layout. Keep a reference photo of the finished studio. Then record one short lesson before committing to an entire course.
Most importantly, don’t review it as the person who made it. Review it as the person expected to learn from it.
Can you understand every sentence without straining? Is the trainer large enough in the frame? Are slides readable? Does the lesson feel focused?
Testing before recording the full curriculum can catch problems that are much more expensive in terms of your time and mental stack to correct after ten lessons have already been filmed. Then take your test one step further: Put the recording into the course environment.
With TrainerCentral, a recorded video can be added as lesson material, organized within chapters, given video chapters and subtitles, and combined with other course materials. Trainers can also add tests and assignments and review learner engagement and course-performance information. Its built-in virtual classroom can sit alongside self-paced course content, while its course reports provide visibility into completion, lesson progress, assignment status, and test grades.
This helps turn the studio workflow into a repeatable training workflow: Record the lesson → upload it → place it in the curriculum → add supporting material → add a knowledge check → combine it with live instruction where needed → track how learners’ progress.
Your home studio solves the production problem. Your training platform should take care of what happens next.
FAQ
What equipment do I need to record an online course at home?
Start with a computer, a stable camera or webcam, a microphone, and a reliable light source. You don’t need professional filmmaking equipment to begin. Clear audio, sensible lighting, stable framing, and a quiet room matter more than assembling a large collection of gear.
What is the best room for recording online courses?
Choose a quiet room where you can control noise, lighting, and interruptions and preferably leave your setup mostly unchanged. Rooms containing curtains, rugs, furniture, bookshelves, or other soft materials can also help reduce distracting sound reflections.
Do I need a professional camera to create online courses?
No. Depending on your training requirements, a webcam, smartphone, or dedicated camera can work. Choose equipment based on the type of video, required quality, budget, and your comfort using the camera rather than assuming a high-end camera is essential.
How can I make course videos look consistent when recording on different days?
Keep the camera, chair, microphone, background, and lights in repeatable positions; save adjustable settings; and take a reference photo of the full setup. Consistent lighting and framing are particularly useful when you need to add or replace lessons later.
What should I do with course videos after recording them?
Treat the recording as one part of the course. In TrainerCentral, you can upload video into lessons, organize lessons into chapters, add other learning materials, configure tests and assignments, combine self-paced content with live lessons, and use reports to monitor learner progress and performance.
Wrapping up
Use your skills to shape how your workstations help you create engaging courses and not the other way around. These are just a few ways you can create your home studio, and with TrainerCentral, you can enhance this to the next stage. Try it out now.